Import through file
Import through file
It should be in .Pbiviz file format to import a Power BI Custom Visual file. Make sure the visual is downloaded and stored on the local computer.

Note
Please ensure that the imported build has a GUID ending with _Powerviz. If you do not see the GUID ending with _Powerviz, it indicates that you are using the AppSource build. This may result in a "Get a License" notification message in the visual, depending on the AppSource license availability.


Follow the steps:
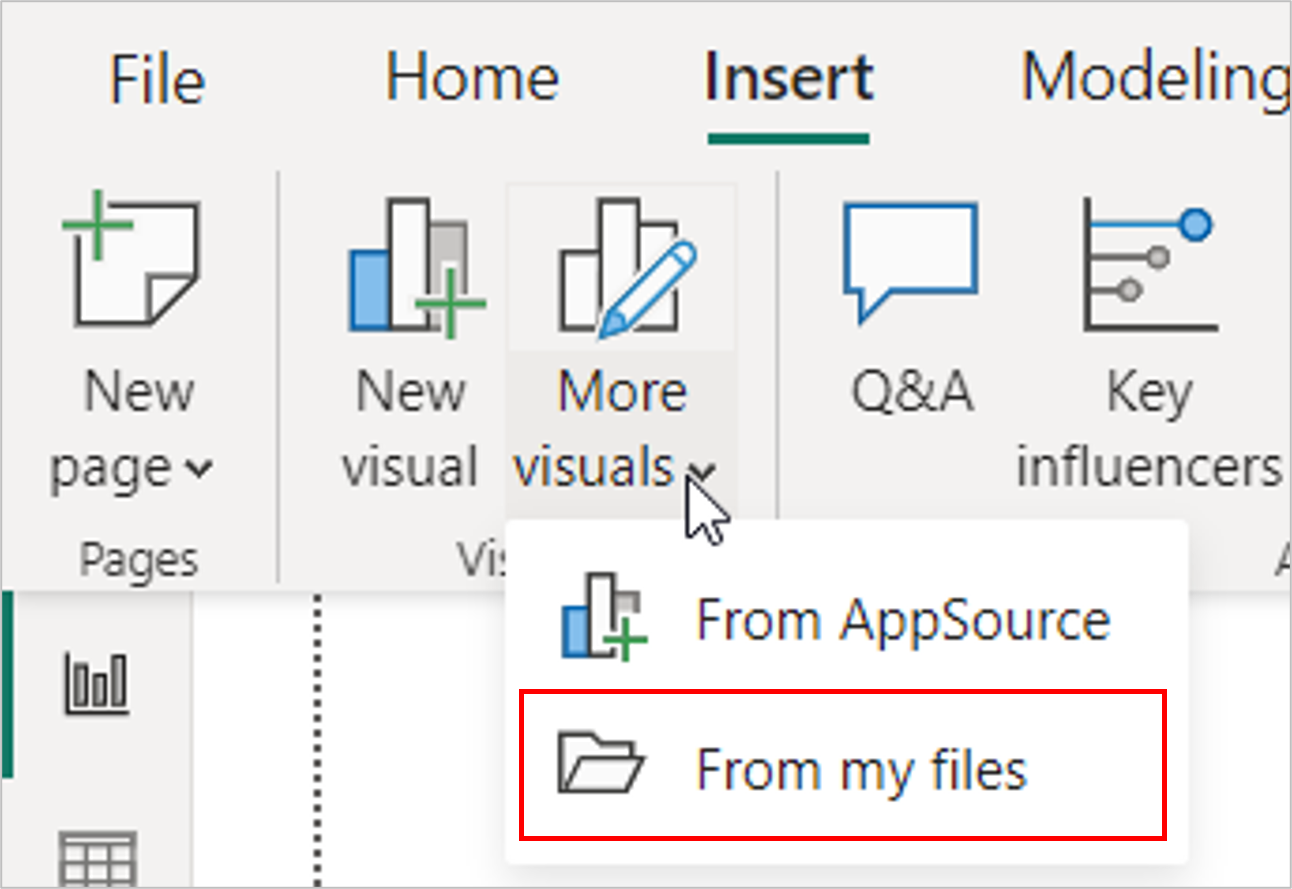
To add a visual in Power BI, select Insert tab > click on
More Visuals> SelectFrom my files.
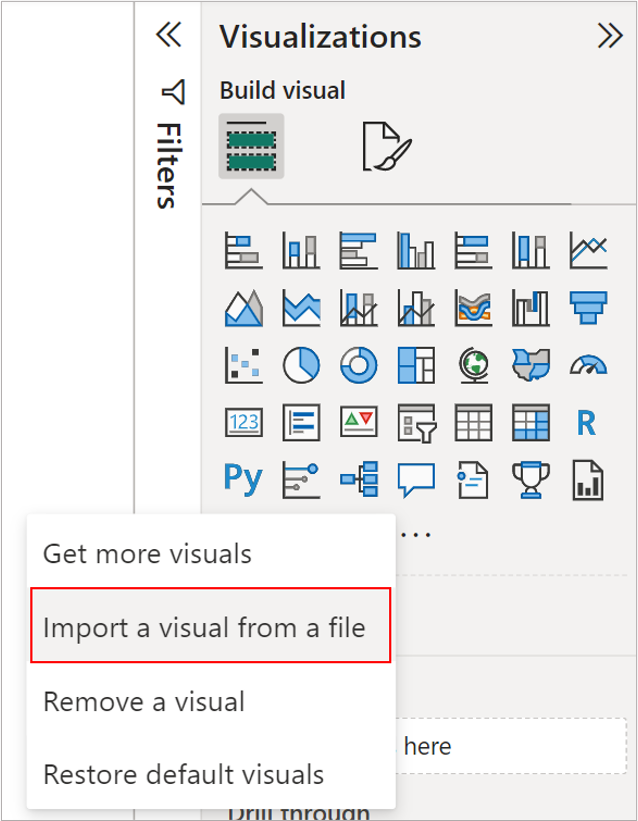
or Select ellipsis(...) from the Visualization pane > select Import a visual from a file.
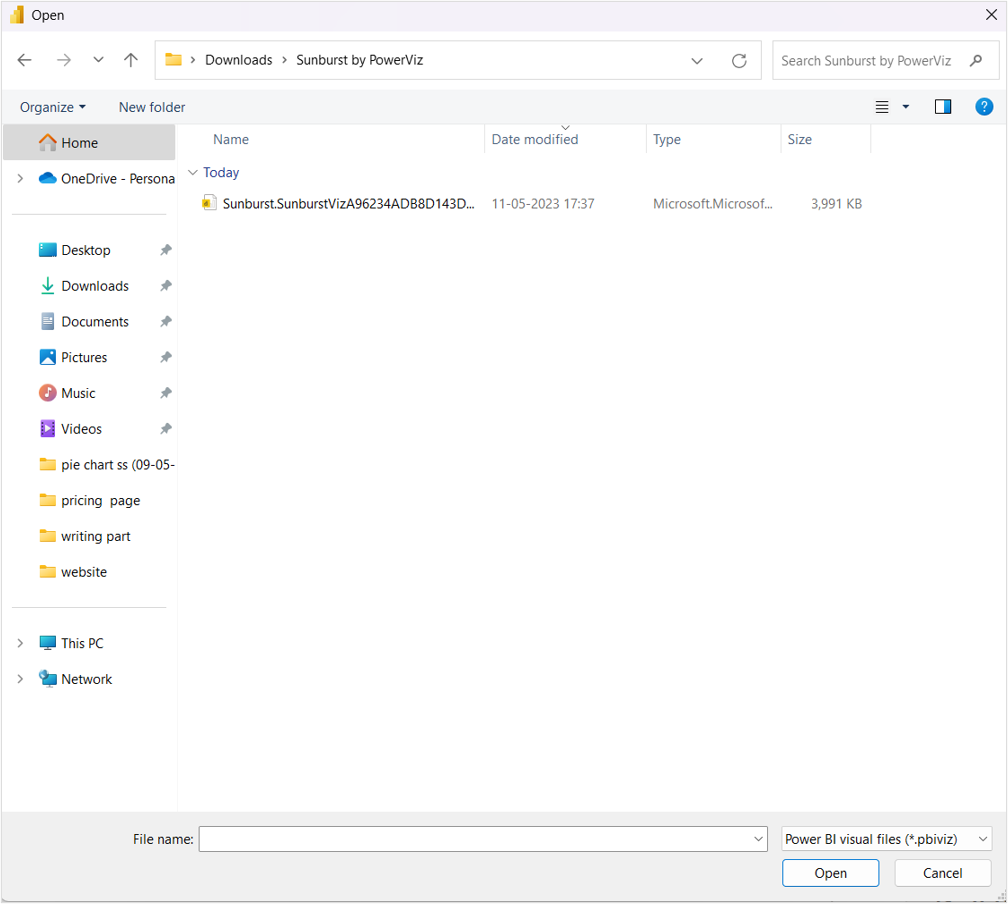
Navigate to the location of
.pbivizfile on your local computer. Either select the file or double-click to open it.
You will get a security prompt to esnure it is a trusted the file.
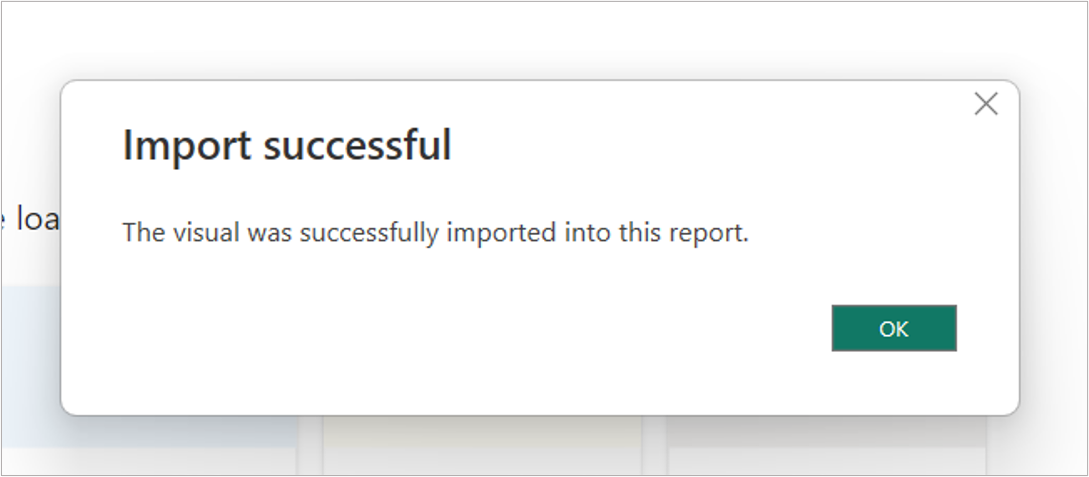
After the visual has been successfully imported, click
OKin the next dialogue box.
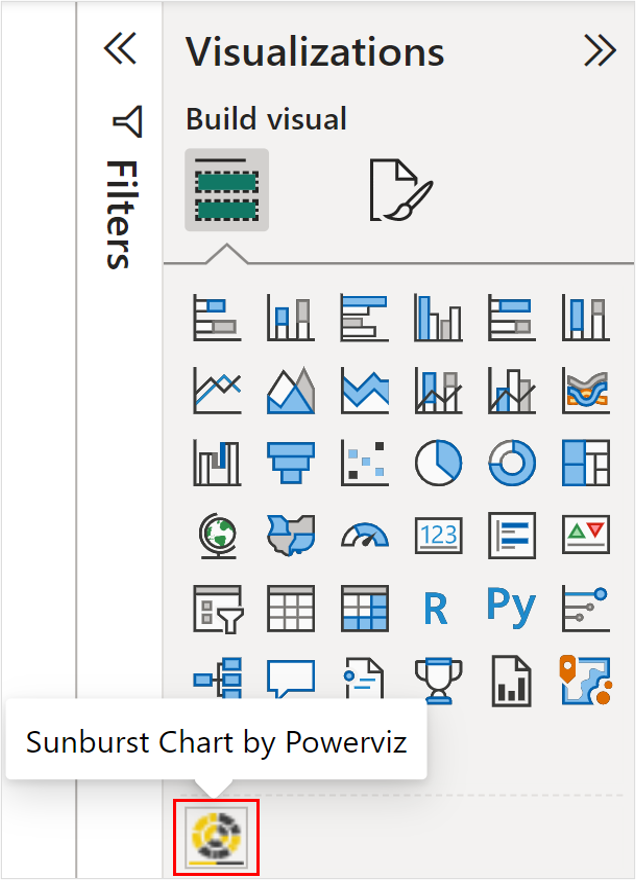
The Powerviz visual icon will appear in the
Visualization pane. Drag the visual from the visualizations pane to the canvas and start analyzing.
TIP
If you want the visual to remain on the visualization pane for all reports, right-click on it and select “Pin to visualization pane”.
To discover more about Powerviz visuals and their advanced features, continue reading.
Last updated